
SoundVision does hundreds of projects a year for San Francisco and North Bay customers. We do tons of cutting-edge projects like custom home theaters, speakers behind walls and home-wide lighting control, but we also get a lot of TV mounting projects.
On occasion, people think that mounting a TV on the wall is simple. To an extent, they’re right. If you want a TV on the wall and that is your only goal, then mounting a TV is simple. However, there are 13 steps we think are essential to mounting a TV that is safely secured, works as intended and looks good. This is how we mount a TV at SoundVision.
1) Determine equipment
Before we even get started, it’s crucial to pick the right equipment for the job. First, we evaluate the site and where the client wants the TV on the wall. From there, we calculate the viewing distance and viewing height. We use this information to decide how high the TV should be mounted for minimal neck fatigue.
Next is audio. Are there in-ceiling speakers? What kind of audio performance is the client looking for? Sometimes all they want is a sound bar, which we then have to evaluate if it will be mounted directly to the TV, or on the wall below.
Then we check out the space to determine the correct mounting hardware. Does the TV need to tilt down? Is the TV above the fireplace? Will they want to enjoy this TV from more than one place? Should this be on an articulating (swivel) mount? By the end of this consultation we would know what TV to provide, what style wall mount is compatible with the TV size and weight and if there is any accompanying sound system.
2) Prepare the space
Before we even begin working, we want to make sure we respect your home and protect all your finishes. We carefully move any furniture in our way and lay down our heavy-duty blankets. These are meant to collect debris and give us a safe spot to unload all our tools and unpack the equipment. Finally, we bring our portable trash can for any waste we create such as packaging, wire ends and anything else we wouldn’t want to leave in your home.
3) Unpack the TV and Mount
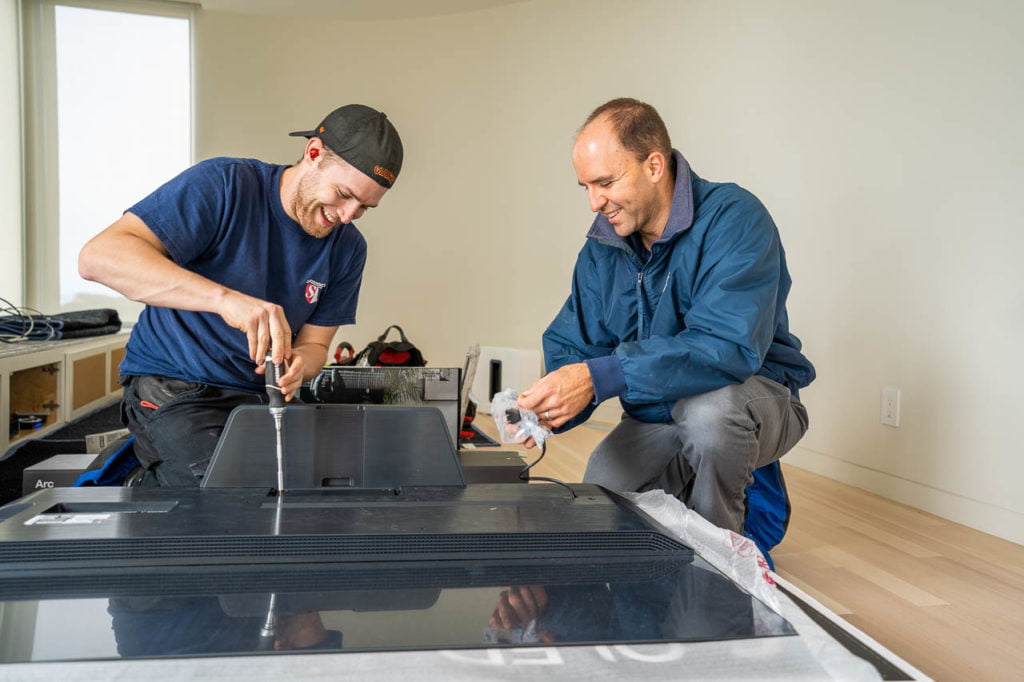
Once we have a protected area to work, we unpack both the TV and mount. After we unpack them, our technicians lay the TV down safely on our padded blankets to ensure the TV can’t be damaged while installing the mount.

4) Install the bracket on the TV

Once the TV is put down safely, it’s ready to have the wall mount installed. Wall mounts are made of two pieces: one you put on the TV and one you put on the wall. Then these two pieces meet later in the installation process.
5) Determine Where the Center of the TV Will Be

Now we need to find the position of the TV on the wall. The first thing we do is measure the space horizontally. In most situations, we position the TV in the center of some defined area, sometimes above a fireplace or between two doors or between custom shelving. Regardless, we want to make sure the TV isn’t off-center.
Next, we want to pinpoint the vertical center position of the TV. We will go back to the TV on the padded blanket to measure its vertical height, divide that in two to find the vertical center, and use that information to find the optimal vertical position on the wall. When we use TV mounts that mechanically lower the TV, we factor in the drop distance of the TV to make sure it lowers to the optimal viewing height.
6) Determine The Wall Mount Height
Now that we know where we want the TV on the wall, we have to determine the height of the bracket in relation to the center of the TV. We already know where the TV center will be on the wall, so we will measure the vertical distance between the bracket and the center of the TV. It is exceedingly rare to have the wall mount bracket have the same center as the TV.
Once we have this measurement, we return to the wall and mark where the TV mounting bracket will go to keep the TV at the correct mounting height.
7) Determine Framing
The next thing we do is find the framing. To ensure that the wall mount has a proper foundation to last a lifetime, we need to find the framing in the wall that we can bolt it to. This is a crucial step that may seem obvious to some, but is overlooked by some “professional” installers at times.
8) Mount the Bracket to the Wall
With the load-bearing framing located, it’s time to install the wall mount bracket. We make sure that our wall mount position is level and pre-drill holes into the wall. Then we grab the wall mount bracket and bolt it into the wall for a secure install.
9) Prewire TV and Evaluate Power Options
With the wall mount placement and TV placement determined, we can decide where to put the backbox. We want the backbox out of the way of the wall mount while still being covered by the TV itself. The backbox will house the power and other TV equipment for easy access. Backboxes are recessed in the wall and allow for equipment to be close to the TV without getting in the way of keeping the TV close to the wall.
Unlike other installers, we avoid hanging wires that spoil the aesthetics of the space. Instead, we create a route for the cables from the TV to a spot where the client wants their equipment.
If the walls are open, we add a conduit to make adding wires easy. In finished homes, this process becomes more difficult. Sometimes we can find power nearby. Other times we have to get creative. Sometimes framing can get in our way when fishing wires in a finished home. In this situation, we have to enlarge the backbox to have enough space for a drill to be perpendicular to the wall to clear the wiring path.
Once we have a set path for wiring, a source for power and a backbox installed, we install the necessary equipment into the backbox and prewire in preparation for the TV.

10) Mount the TV to the Wall and Plug in the Cables

With all the equipment ready to go, it’s time to mount the TV. We have one to two technicians grab the TV and carefully secure it to the mount. Before we press it flush against the wall, we carefully tilt the TV and get all the connections in: power, TV inputs, audio, and an IR receiver if necessary.
11) Post Install Setup
Once the TV is installed and powered on, we wouldn’t want to leave the post-install setup to the client. Our goal is to have all our projects ready to go by the time we leave. We connect the TV to the internet, install any updates, make sure all the inputs work, make sure the audio is working correctly and calibrate the TV picture so it looks its best. The last thing we do is make sure everything works: check all the audio channels and check that the equipment is all working as intended.
12) Clean Up the Mess
The installation is done, but our goal is to leave no trace that we were ever there. First, we pick up any remaining trash and put it in our portable trash can. Then we fold up our blankets with any remaining debris that we’ll clean back at our warehouse. Next, we grab a vacuum and clean up any debris that may have escaped past our blankets or got onto other areas like the edge of a mantel. We finish our clean-up by cleaning the TV with a microfiber towel to clean any fingerprints and dust from the installation.

13) Hand-off to Home Owner
The final thing we do is show the client how to use it and answer any questions they may have. We show them how to cycle through their inputs and use their equipment like their cable box or Apple TV. We help them sign in to all their streaming services and leave them with a fully functional and beautiful end result!
14) Coverage For a Lifetime
The length of our warranty can’t be measured in years, but will last as long as your home does! We offer a lifetime warranty on the craftsmanship of all our installations.
We even cover the hardware as we install it. If we damage your TV or any finishes, we replace them on our dime. It’s one of many steps we take to show our commitment to creating quality work.
Who Will Mount Your TV?
These are just the steps our SoundVision technicians take with every TV we install. Not everyone takes the same level of care. Sometimes it’s easy to be lured into cheap installers. They will mount the TV for sure, but how good will the mount be? Will they replace any finishes they damage? If they cut a hole that can be seen after the TV is mounted, will they remedy it? Will they clean up their mess? Maybe they will, maybe they won’t. If you want the answer to be “yes” to all of these questions, give us a call at 415-456-7000 and we’ll make sure your TV is ready to last a lifetime.