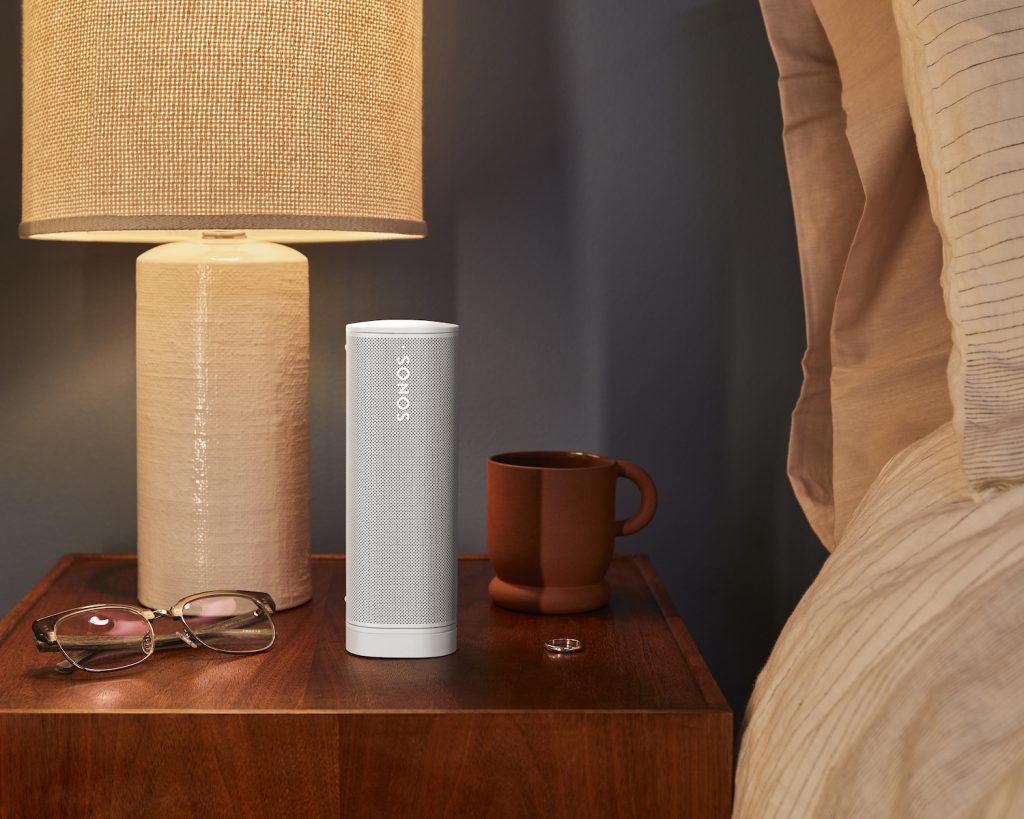
Although the Sonos Roam is a great portable speaker, the setup can be headache inducing. This guide will help you get through the setup.
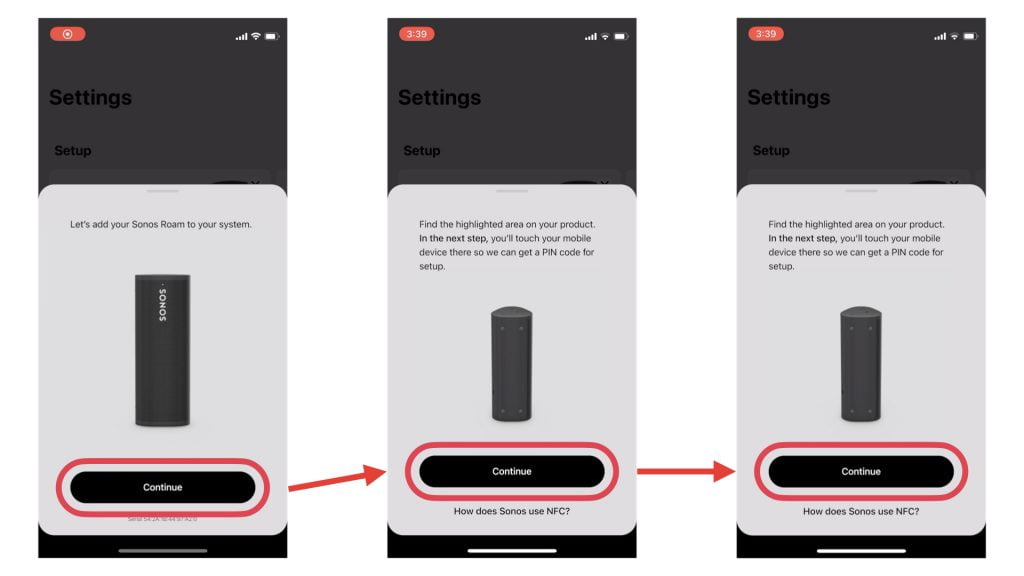
To get your Sonos Roam recognized by the app, make sure to power it on. Then, open the Sonos app where it should recognize the Roam. Tap the “Add your Sonos Roam” button. If you have a newer phone, it’ll ask you to hold your phone in a certain spot on the Roam. This will never work, but you can’t skip it. Just hit “continue” as if you’re going to try, but you don’t have to waste any energy trying. It’ll time out and ask you to try one final time. Again, just let it time out.
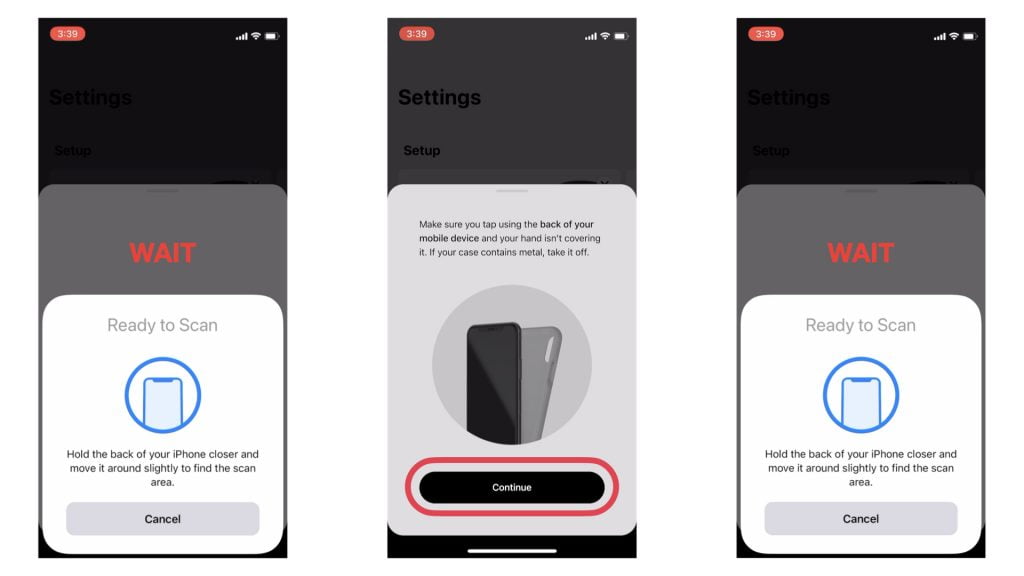
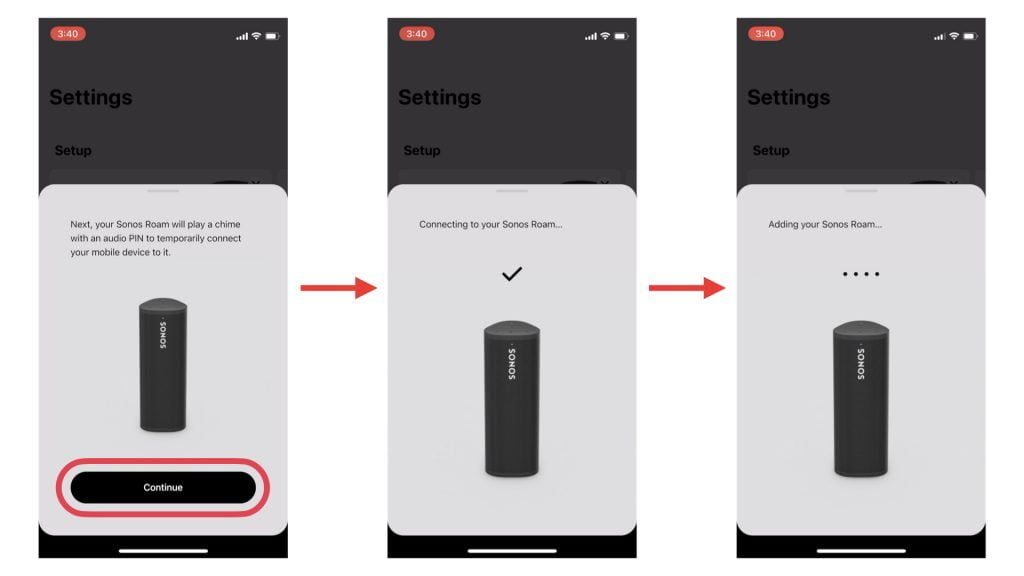
After the two failed attempts, it’ll now let you pair your Roam via microphone. This always worked for us. After it pairs, it’ll send the Roam your Wi-Fi settings. It should finish the set up by itself from there, and you’re ready to play through your Sonos network!
The final step is getting Bluetooth paired. First, hold down the power button on your Sonos Roam until you hear a second chime, then let go. After that, it’ll play a quick chime and the top of the speaker will blink blue. This means that the Roam is in pairing mode.
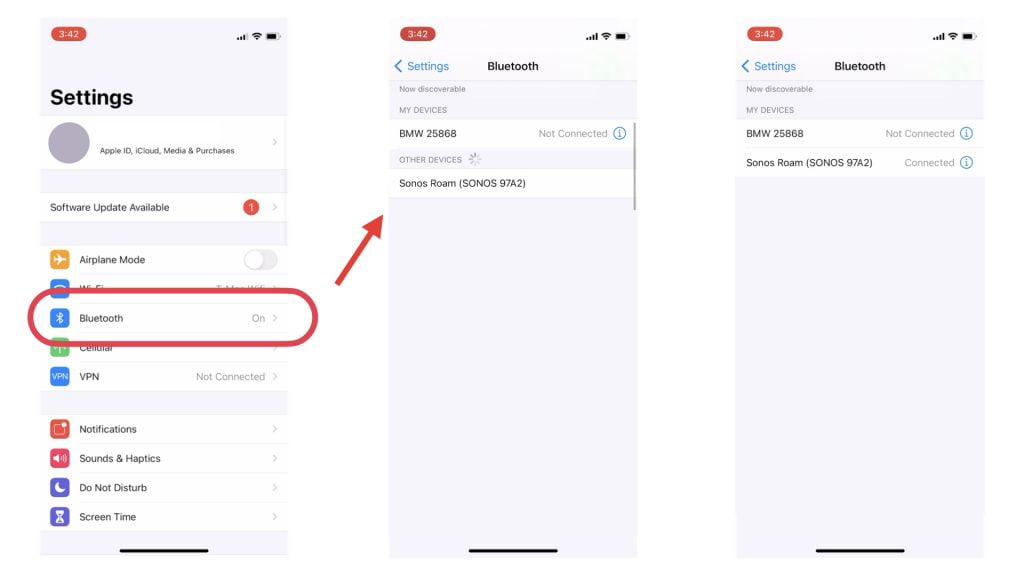
Now on your phone, go to the settings app, and then tap Bluetooth. If it’s off, make sure to turn Bluetooth on. From there, you should see the Roam at the bottom under a section called “Other Devices.” Tap the Roam and then you’re fully paired!


